On Cheerio AI, you can now run Click to WhatsApp and Click to DM Ad campaigns by connecting your Facebook Ads Manager. However, to improve the ad results by up to 13% and significantly reduce cost, you are required to set up a conversion pixel.
What is a conversion pixel?
A conversion pixel is nothing but a form of an event identifier that shares feedback about the Facebook results/lead with Facebook, and based on your feedback, Facebook optimizes your ad's targeted audience. For example, suppose you are a D2C brand selling unisex sunglasses on a WhatsApp or Instagram page, and you start to run ads. Now with pixel, you tell Facebook about your potential customer. Facebook tracks down the details about your potential customers, like their demographics, interests, behaviours, and on the basis of this. Facebook tries to identify similar people who might be highly interested in purchasing from you.
Setting up a pixel on Cheerio AI is quite simple and easy, but before that, you have to configure a few things on your Facebook Events Manager. Here are the steps for you to follow.
1. Log in to your Facebook Business Manager at business.facebook.com
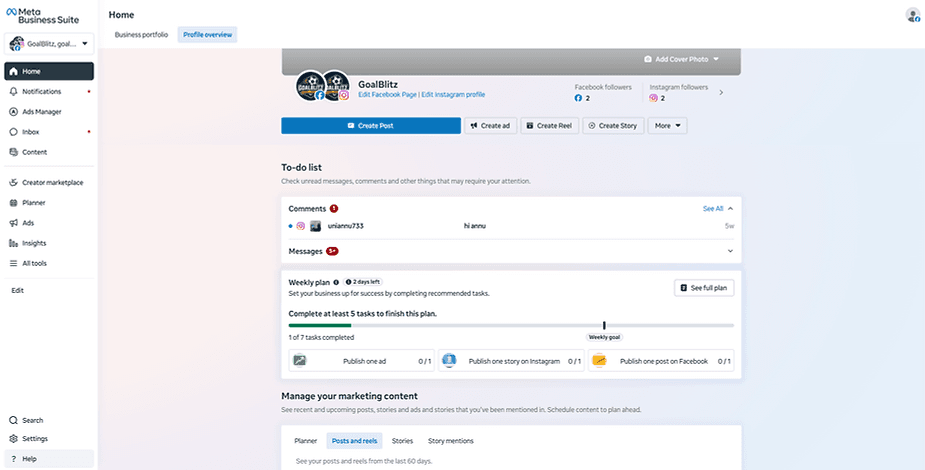
2. Go to all tools > Events Manager
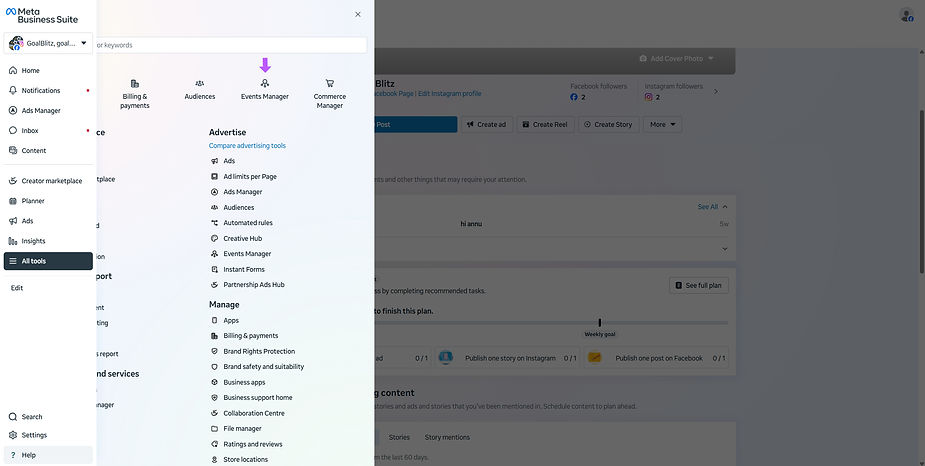
3. Facebook will open the events manager in a new tab
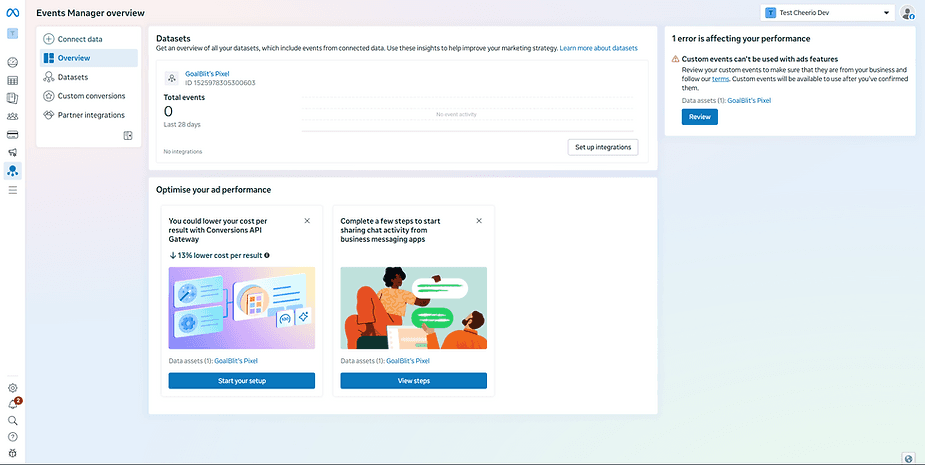
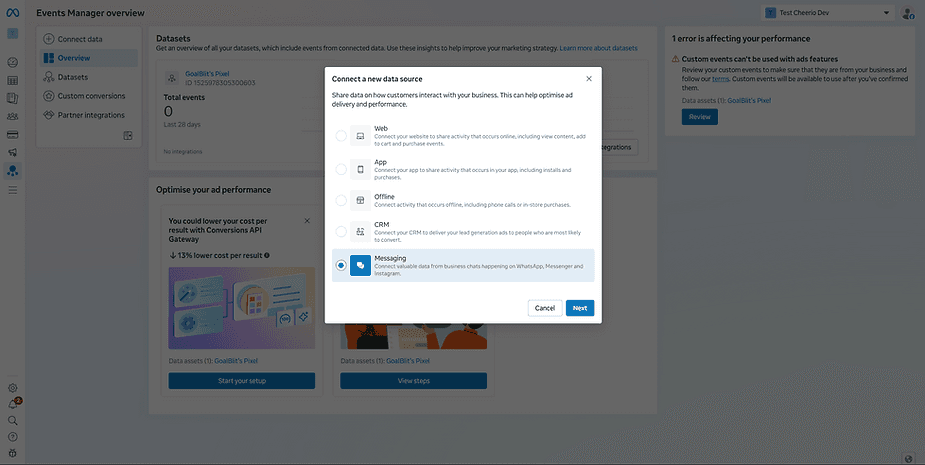
4. Click on the CONNECT DATA button at the top left.
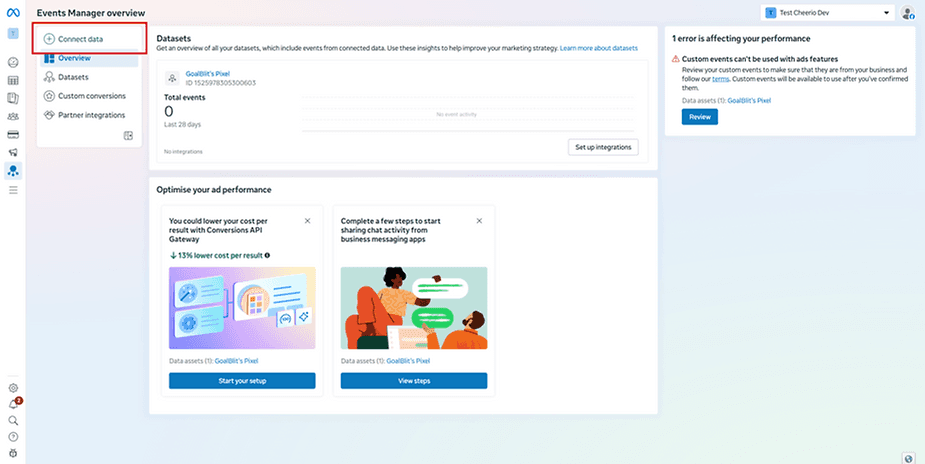
5. Select Messaging as an option because we will be sending data from WhatsApp & Instagram
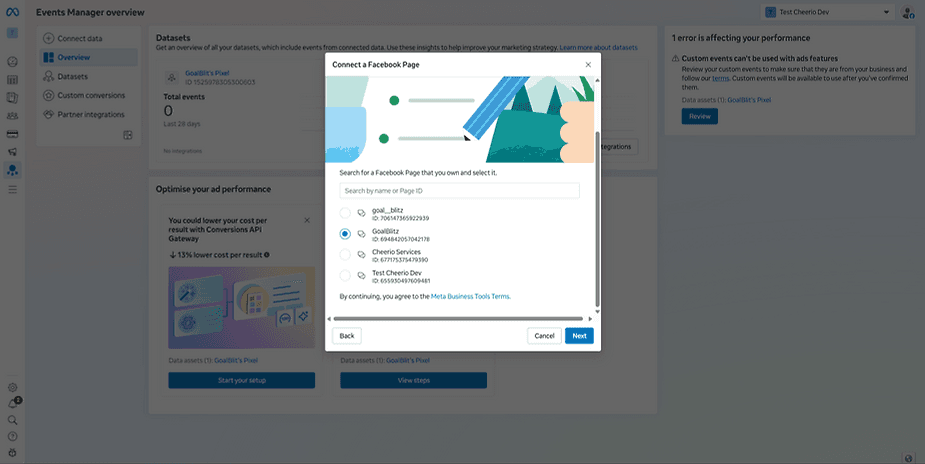
6. Select the Facebook page if you're setting up for WhatsApp, and Instagram when creating CTD Ads
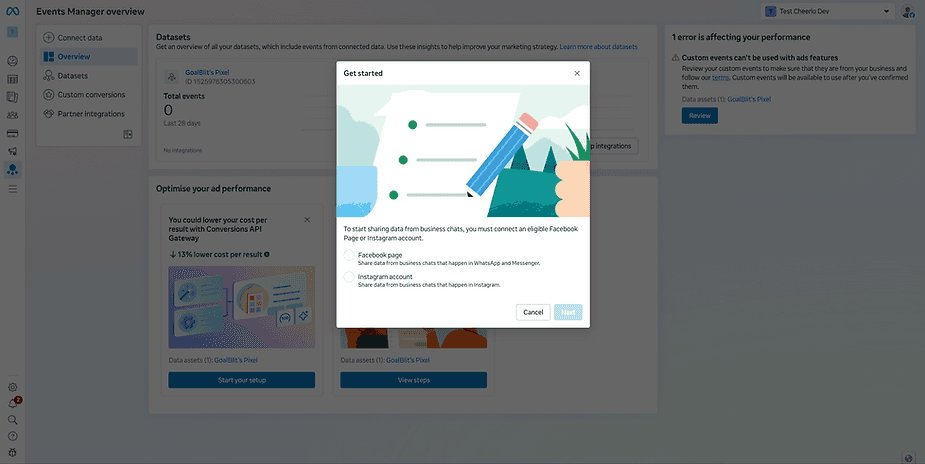
Select the page here (Make sure to use the same page you're using for running the ads). If the pages are different, your setup will be completed, but Facebook will not receive any details
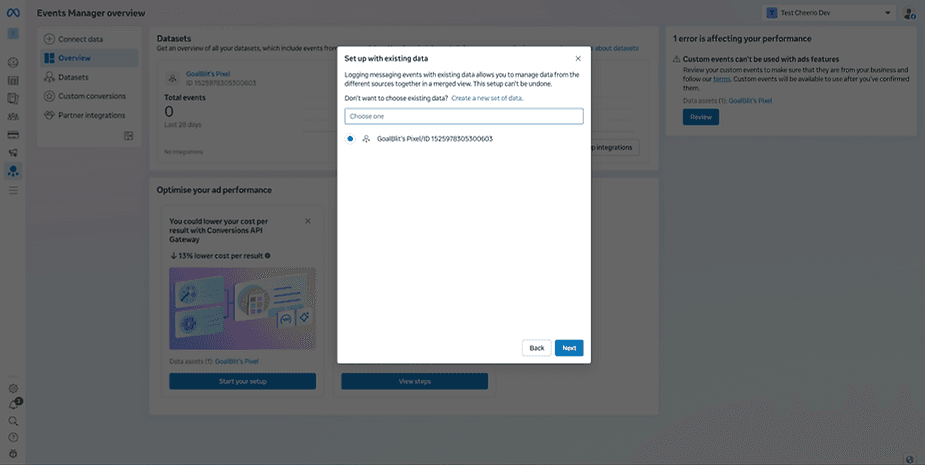
8. Select the dataset in which you want details to be updated. In case you don't have any existing dataset, simply create a new dataset.
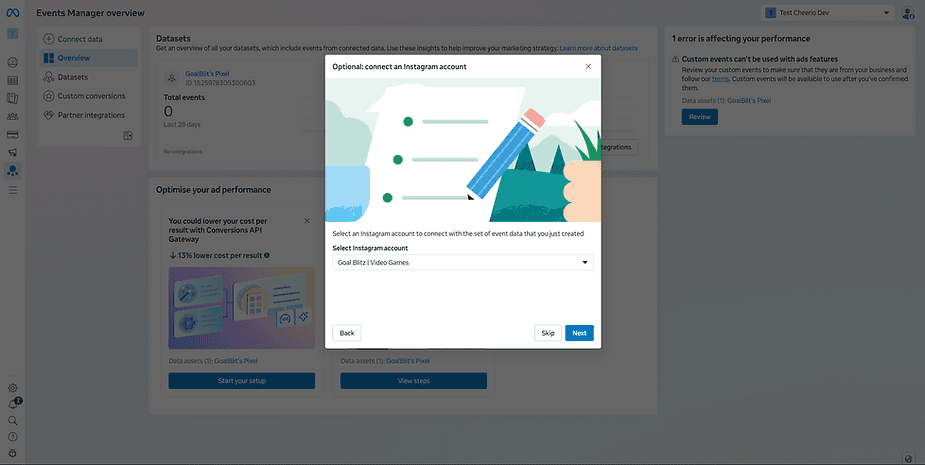
9. Select the Instagram account at this step, or you can skip if you don't have an Instagram account connected with the same Facebook page
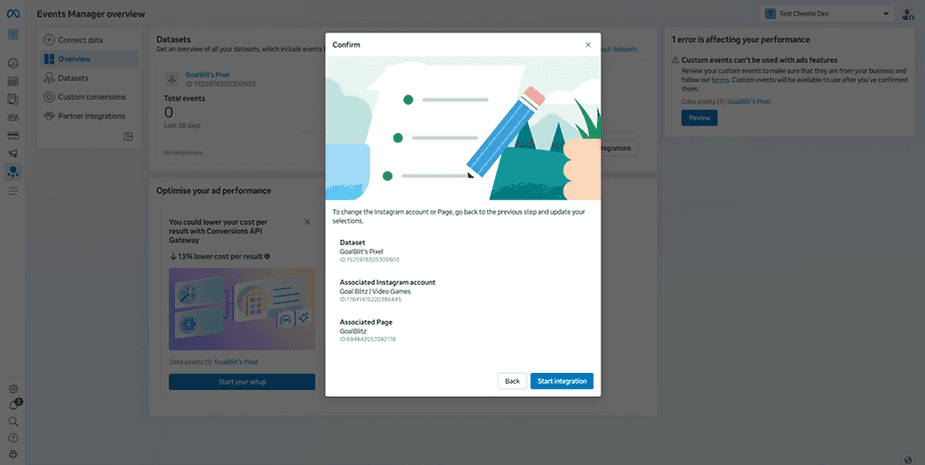
10 That's it, your setup on Events Manager is completed. Now we have to set up another one on Cheerio
After completing the above setup, you will get the pixel ID, which is needed to complete the setup on Cheerio
Follow the steps below on Cheerio AI.
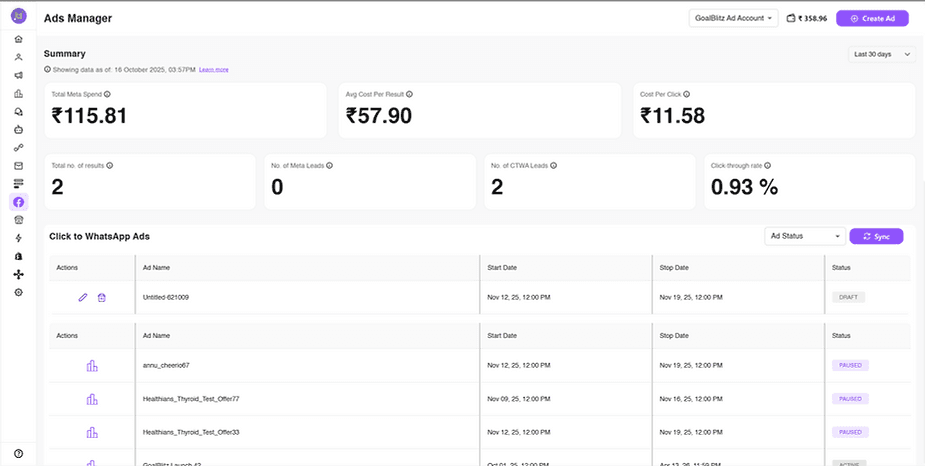
1 Login to Cheerio Dashboard and create a new CTWA or CTD ad and select the campaign, or you can even use an existing active ad.
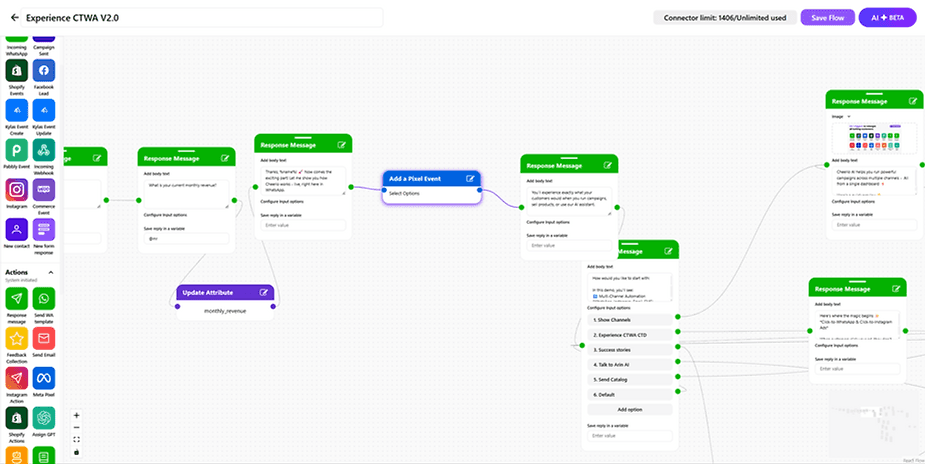
2. Head over to your WhatsApp/Instagram Workflow configured for that ad campaign.
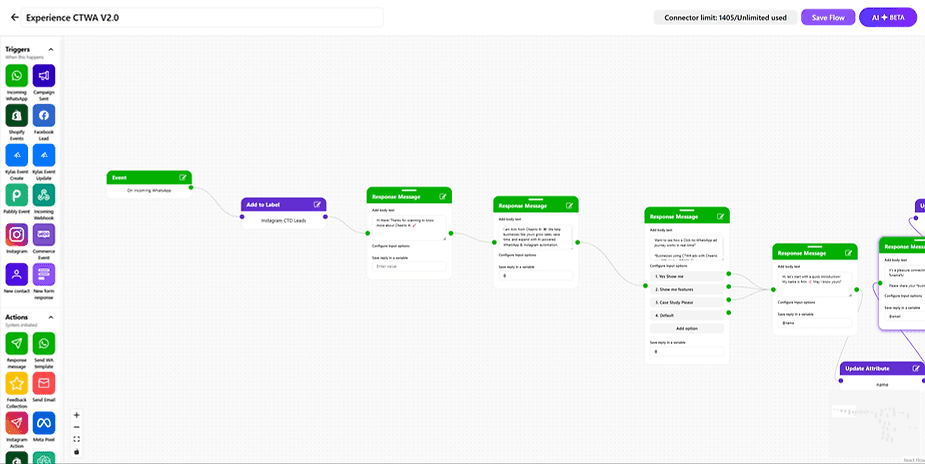
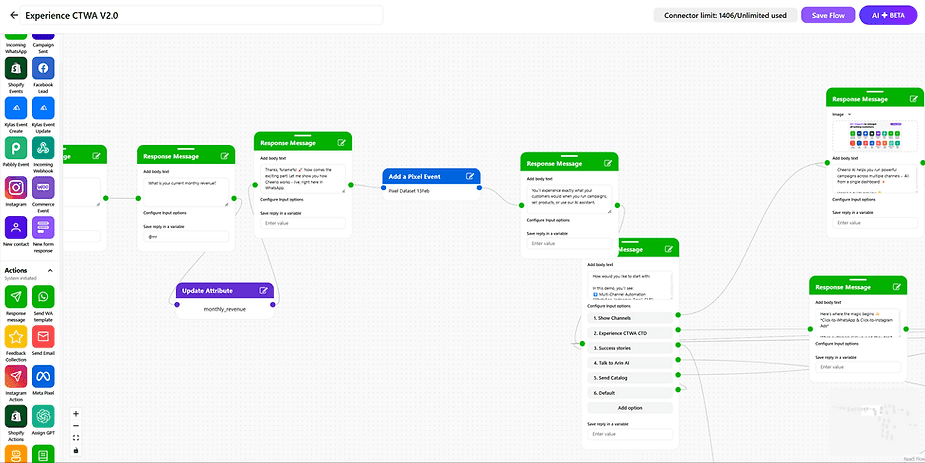
3. Add a meta pixel node (This is tricky because you have put the pixel at the stage where you're actually qualifying your lead quality)
For example, the previous example of unisex sunglasses which we discussed, for that a pixel events needs to be added after a successful purchase.
You can hit & try with multiple combinations by changing the position after 3-5 days of trial only. Pro Tip: Avoid using multiple pixel nodes for the same flow. This will confuse the algorithm.
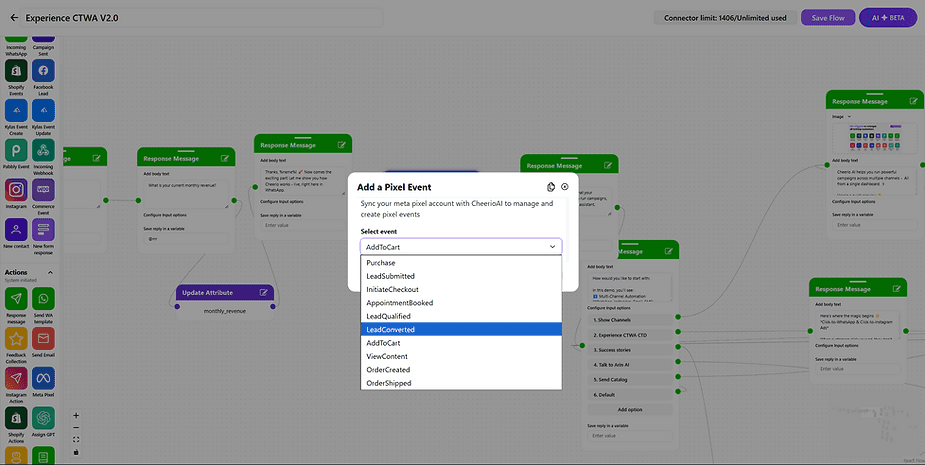
4. You can add events like these at different stages of the flow. For this example, we'll use lead converted
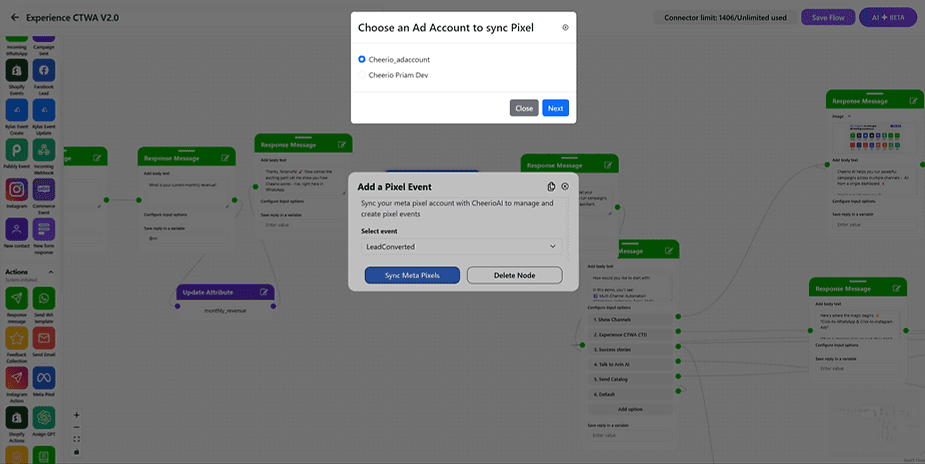
5. After selecting, click on Sync Meta pixel and select the account in which you've the dataset and connection in the initial steps
6. Select the pixel ID that we have created at the initial setup and click on save
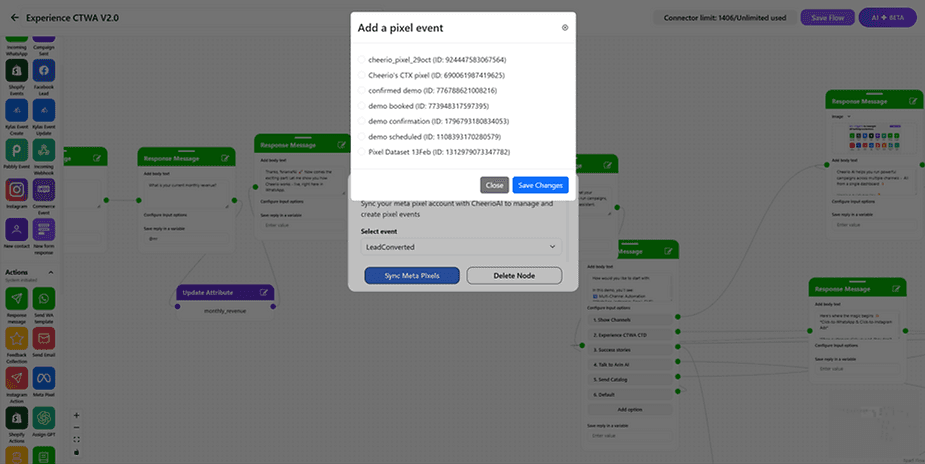
7. Once changes are saved, your pixel node will be updated with the name of pixel dataset.
8. Click on Save flow, and you are pixel setup is completed
This was the entire process to set up Meta Pixel for your Meta Ads. For any further queries, please reach out to our support team at support@cheerio.in, or you can raise a ticket directly fromthe Cheerio Dashboard.


