Sequential Emailing allows users to send a large quantity of emails to a wide audience using multiple sender IDs. This approach helps maintain email quality, maximize inbox deliverability, and reduce the risk of being flagged as spam. By leveraging personalized messaging and strategically managing sender reputations, cold emailing ensures targeted outreach while enhancing the chances of building meaningful connections with prospects. Additionally, it enables senders to scale their campaigns effectively, analyze performance and tailor messaging to specific audiences. On Cheerio AI's platform, users can harness the power of Sequential Emailing for outreach, advertising, lead generation and engagement.
User Guide
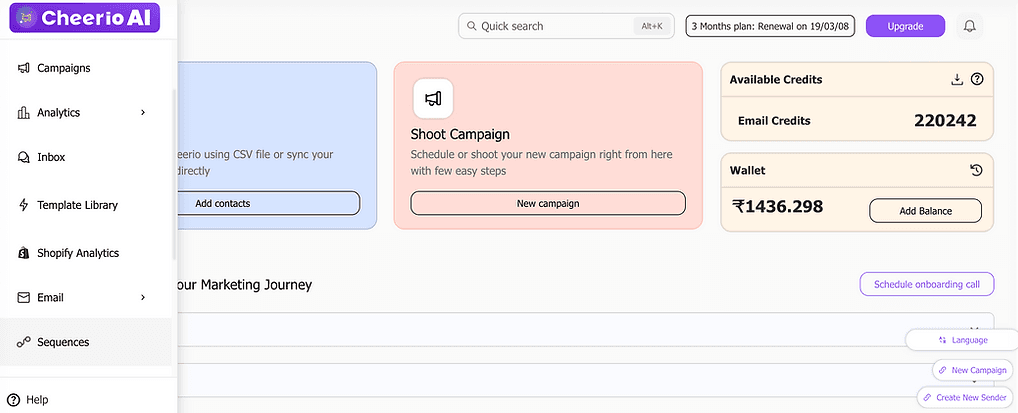
After logging in to your Cheerio account, hover your cursor over the navigation bar on the left. This will open a sidebar with multiple icons. To access Sequential Emailing, click on the Sequences tab.
After clicking the sequences tab, you will be redirected to the sequences page :-
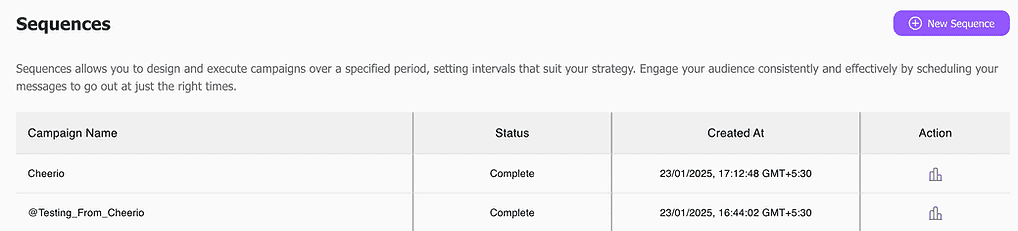
On the sequences page, you will have the option to view your previous campaigns, their status and when they were created.
Creating a New Sequence
Step 1 : To create a new sequence, click on the purple New Sequences button on the top right hand corner of the sequences page.
Upon doing so you will be redirected to the create page
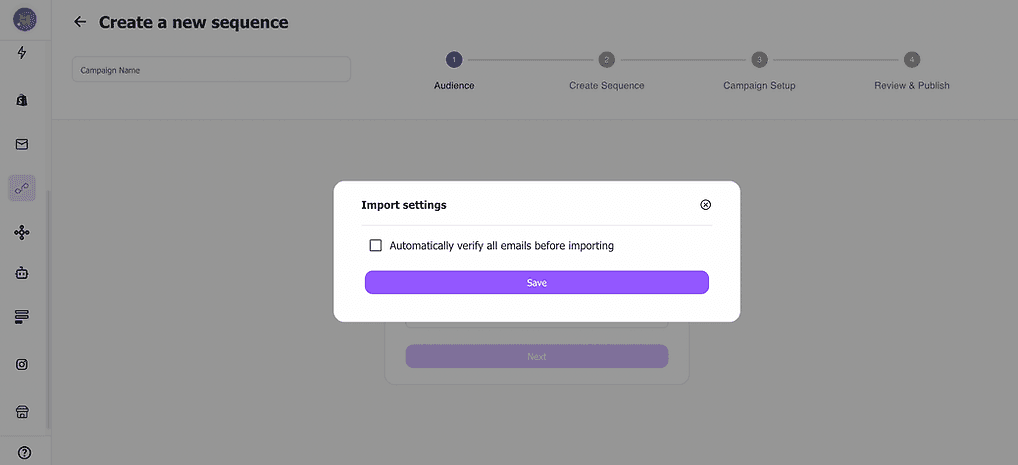
Here, you will be presented with a window which allows you to select if you want to automatically verify all emails before importing and save these import settings.
Select an existing label from the drop down menu as shown in the window at the centre.
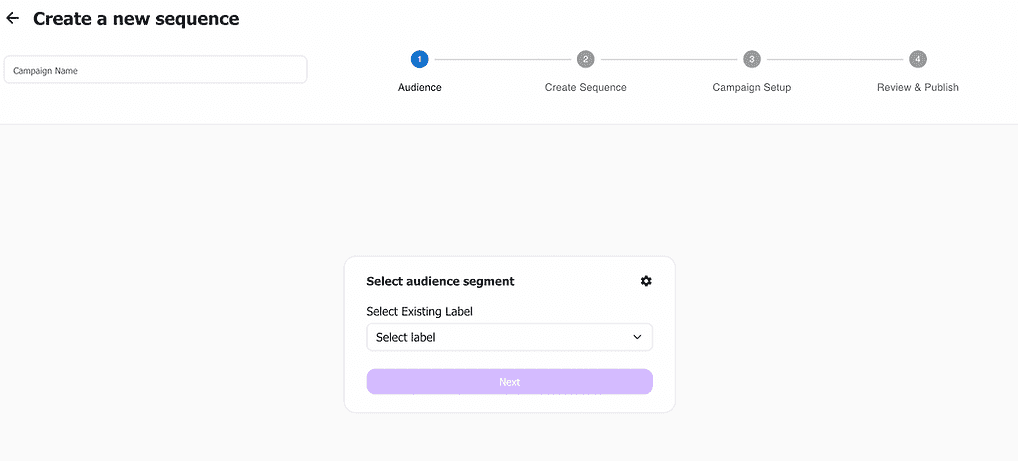
Step 2 : After entering a campaign name and selecting a label, you will be able to add steps to your sequence
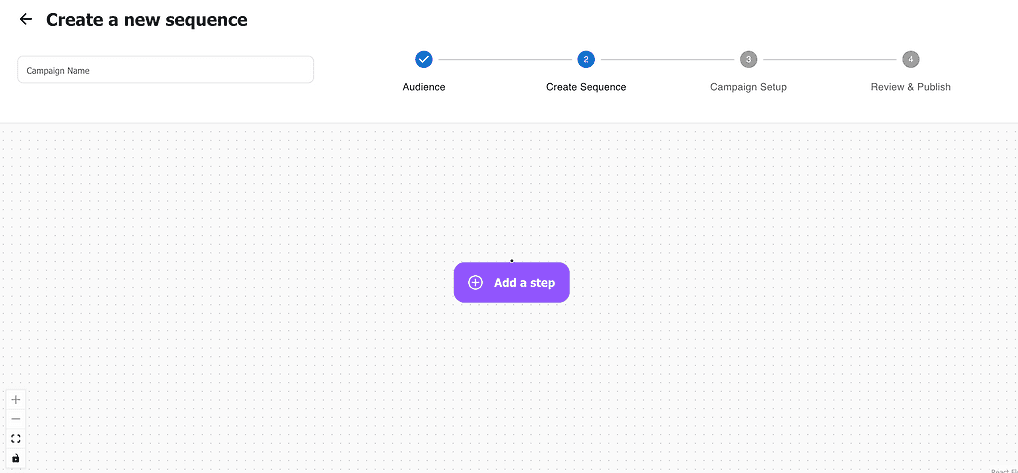
Click on 'Add a step' and a window will open on the left
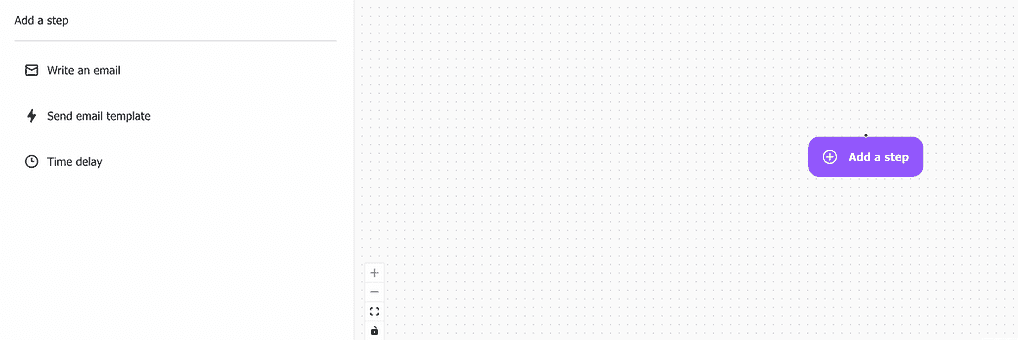
Here, you can add the steps : 'Write an email', 'Send email template' and 'Time delay' to your flow by clicking on the respective icon. Selecting the 'Write an email' option will open the following window :-
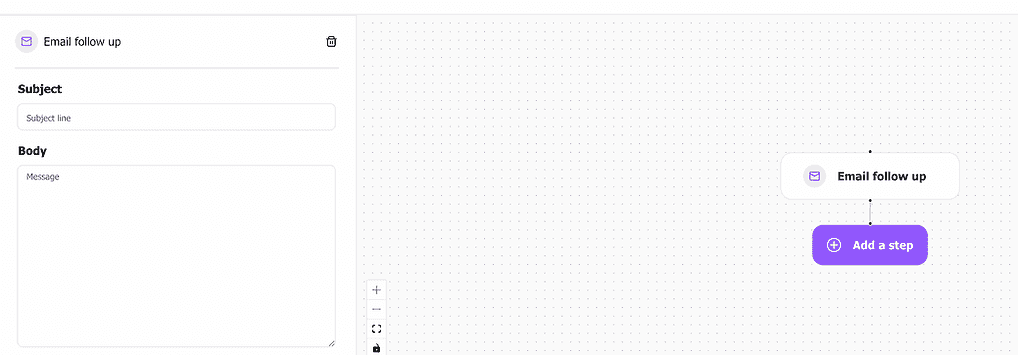
You can enter your email subject and content. Then, you can save and add another step. Clicking the 'Send email Template' option will open the following window :-

You can add a Subject line, select an email template from the drop down list and save your selection. Selecting the 'Time delay' option will open the following window:-
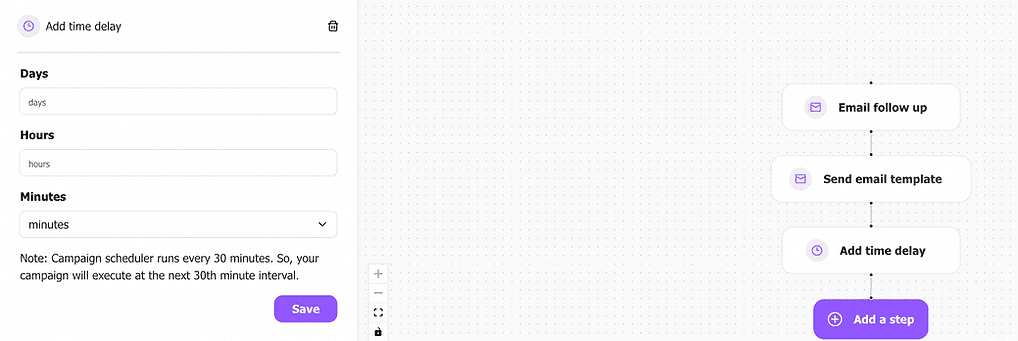
You can enter the number of days, the number of hours and the number of minutes as per your requirement and save your selection.
Step 3 : You can then click Save & Next at the bottom right hand corner and then, you will be brought to the 'Campaign Setup' page.
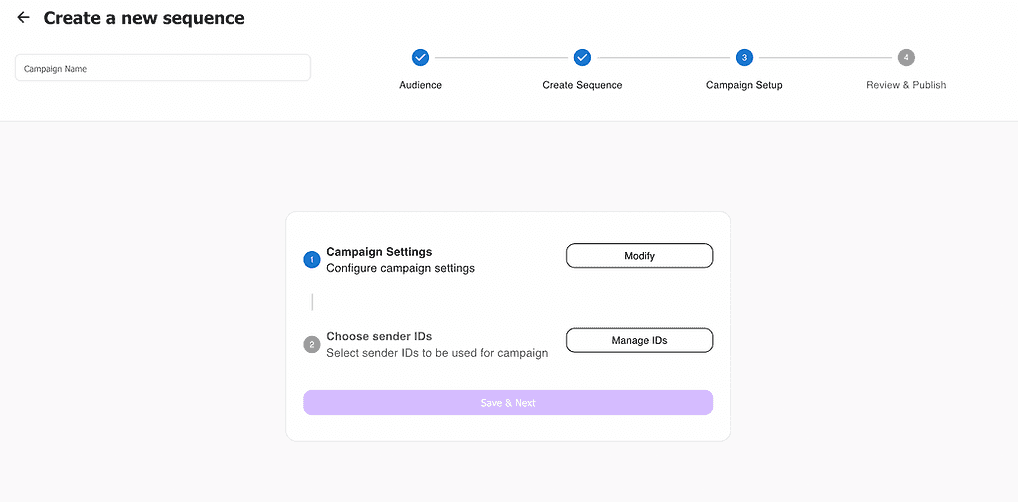
Select 'Modify' to configure your Campaign Settings.

Enter your campaign name and add an email ID for receiving replies. Then select 'Manage IDs' to choose sender IDs
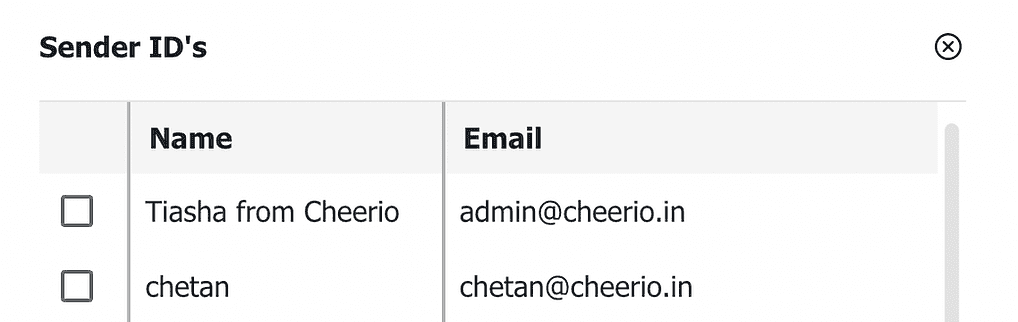
After saving your selected sender IDs, click Save & Next to proceed forward. Step 4 : Here, you can select 'Run a test' and then select 'Start sequence'
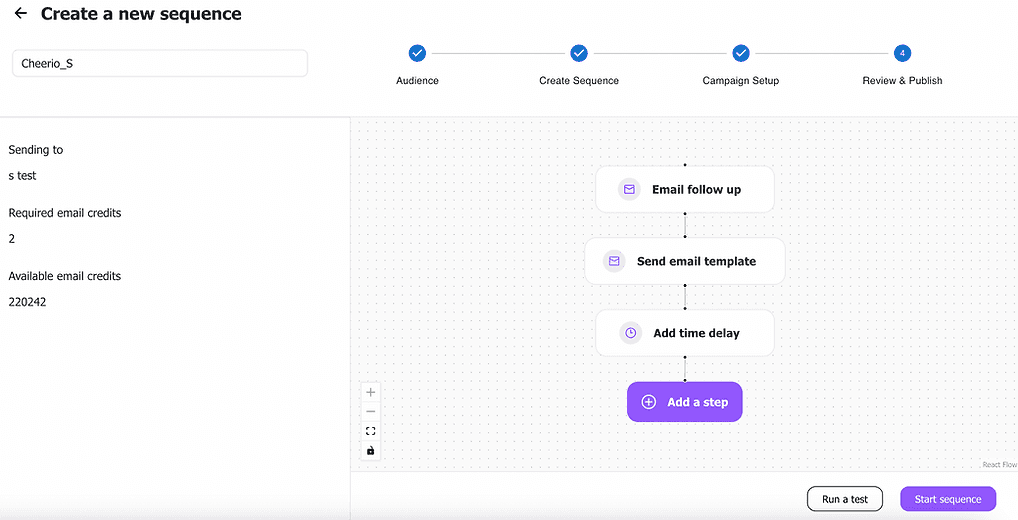
Selecting 'Run a test' will open the following window :-
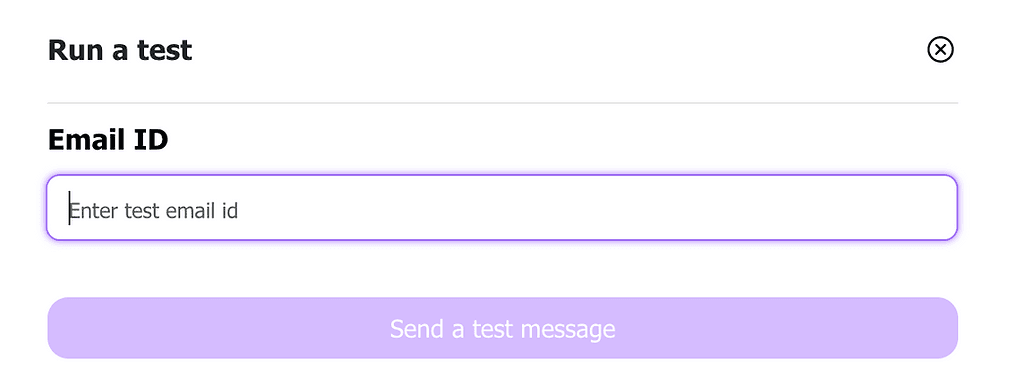
Enter a test email ID and select 'Send a test message'
You will receive the confirmation, 'Test sent successfully!' Then you can click on Start sequence and send your campaign.
Great, You have successfully launched your first campaign. Now you can check detailed analytics from the sequences page.
View Analytics You will also be able to view your campaign analytics by clicking on the graph icon in the actions column

Upon clicking this icon, you will be redirected to the analytics page.
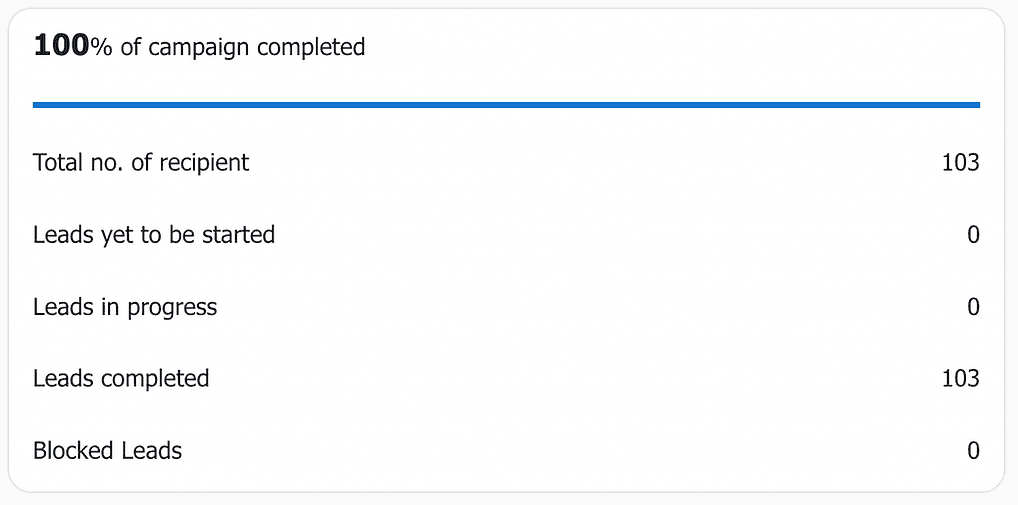
In the analytics page, you can view :- • Your campaign statistics
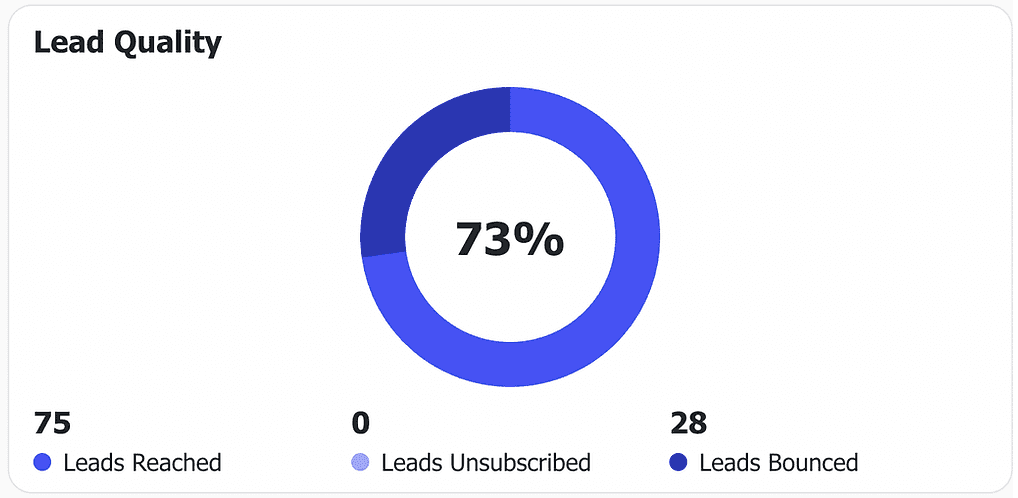
• Get a breakdown of your leads' quality
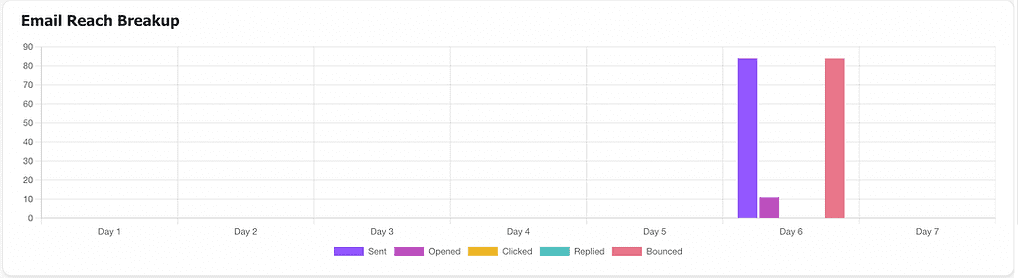
• View a detailed graph showcasing the breakdown of your email reach
• Understand the breakdown of your sequences

Amazing! Now you can create and analyze Sequential Email Campaigns.


